ESP32를 주로 아두이노 IDE에서 쓰다가,
MicroPython 롬을 한번 넣어보고 싶다고 생각해서 작업에 들어갔다.
자세한 내용은 아래의 홈페이지를 참고하셔도 될 거 같다.
https://docs.micropython.org/en/latest/esp32/tutorial/intro.html
1. Getting started with MicroPython on the ESP32 — MicroPython 1.19.1 documentation
The flashing instructions above use flashing speed of 460800 baud, which is good compromise between speed and stability. However, depending on your module/board, USB-UART convertor, cables, host OS, etc., the above baud rate may be too high and lead to err
docs.micropython.org
(MuEditor로 롬 라이팅을 하실 분은 6번 설명으로 바로 가셔도 됩니다.)
1. pip install esptool
펌웨어를 업데이트하기 위해서 esptool.py를 사용한다.
터미널에서 [pip install esptool]를 입력하여 설치한다.
2. esptool.py --chip esp32 --port /dev/ttyUSB0 erase_flash
원래 깔려있던 아두이노 롬을 삭제해 준다.
빨간색 부분은 ESP32가 어디에 연결되어 있는지 자신의 컴퓨터에 연결되어 있는 ESP32의 USB 포트명을 적어야 하는데 터미널에서 [ls /dev] 쳐서 알아낸 뒤에 입력해 준다.
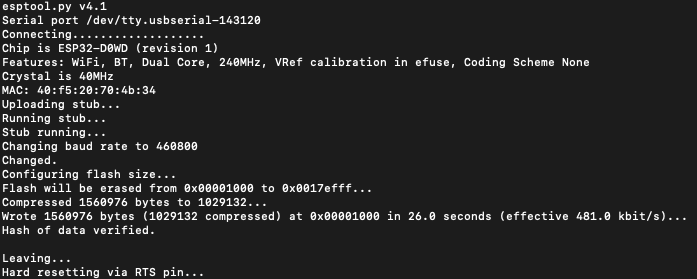
3. esptool.py --chip esp32 --port /dev/ttyUSB0 --baud 460800 write_flash -z 0x1000 esp32-20220618-v1.19.1.bin
펌웨어를 설치 해 준다.(펌웨어는 여기서 다운로드할 수 있다 https://micropython.org/download/esp32/)
MicroPython - Python for microcontrollers
MicroPython is a lean and efficient implementation of the Python 3 programming language that includes a small subset of the Python standard library and is optimised to run on microcontrollers and in constrained environments.
micropython.org
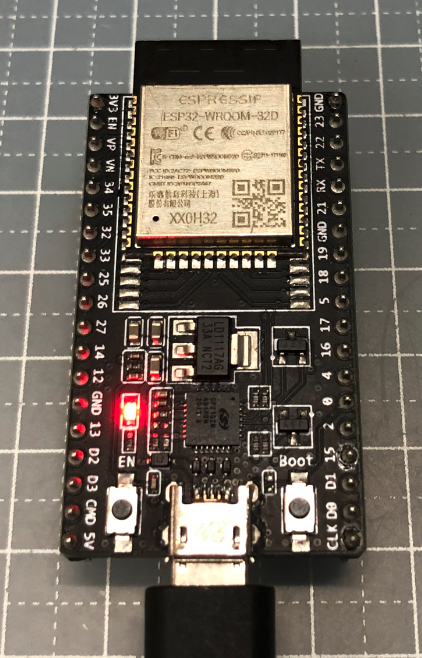
펌웨어는 자신의 보드에 맞게 설치해 주어야 한다. 여기서는 [ESP32 espressif ESP32-WROOM-32D]를 이용했다.
2022년 7월 23일 현제 [esp32-20220618-v1.19.1.bin]가 최신 버전이다.
4. 파이썬 프로그래밍을 하기위한 IDE를 설치한다.
여기서는 여러가지 선택지가 있으나, MuEditor를 설치하기로 한다.
여기에서 다운로드 받을 수 있다 https://codewith.mu/en/download
Download Mu
On Linux, in order for Mu to work with the MicroPython based devices you need to ensure you add yourself to the correct permissions group (usually the dialout or uucp groups). Also make sure that your distribution automatically mounts flash devices, or mak
codewith.mu
5. 처음 실행시키면 아래와 같은 화면이 뜬다.

6. 초기 IDE의 보드 설정을 한다.
여기서는 ESP MicroPython 을 선택하였다.

여기까지 진행하고 깨달았던 것인데, MuEditor 로도 롬을 지우고 쓸 수가 있다.
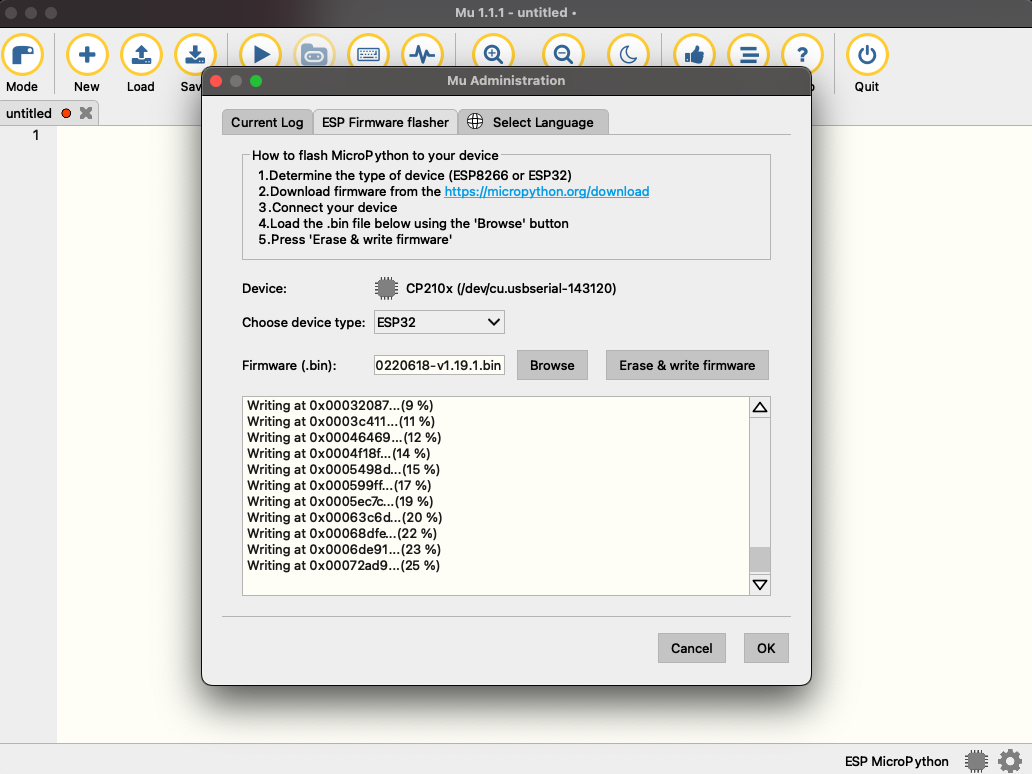
오른쪽 밑의 톱니바퀴를 누르면 위와 같은 창이 뜨는데,
롬을 선택해 준 뒤에 [Erase & write firmware]를 누르면 자동으로 롬이 설치된다.
(진작에 알았으면...;;)
7. 프로그래밍
아래의 링크의 [Running Your First Script]을 참고하여 LED 제어를 해 봤다.
https://randomnerdtutorials.com/micropython-program-esp32-esp8266-mu-editor/
MicroPython: Program ESP32/ESP8266 using Mu Editor | Random Nerd Tutorials
Mu Editor is a simple Python editor for beginner programmers that supports MicroPython with the ESP32 and ESP8266 boards. It has a simple and intuitive interface, and provides a menu to burn firmware to your boards quickly.
randomnerdtutorials.com
| from machine import Pin #Pin 클래스를 불러낸다. from time import sleep #sleep 클래스를 불러낸다. led = Pin(23, Pin.OUT) #LED 핀 설정, Pin.OUT 으로 출력설정 button = Pin(12, Pin.IN) #스위치 핀 설정, Pin.IN 으로 입력 설정 while True: led.value(not led.value()) #LED 제어 부분 sleep(0.1) #타이머 설정 print(button.value()) #스위치값 출력 (스위치를 설정했을 경우) |
여기서는 23번 핀에 LED가 연결되어 있어서 핀번호를 수정해 주었다.
참고로 MuEditor 에서 Files를 누른 뒤에 main.py를 본체에 업로드해야지 자동으로 실행이 된다.
그렇지 않으면 플레이 버튼을 누를 경우에만 실행이 된다.
https://docs.micropython.org/en/latest/esp32/quickref.html#i2c-bus
Quick reference for the ESP32 — MicroPython 1.19.1 documentation
© Copyright - The MicroPython Documentation is Copyright © 2014-2022, Damien P. George, Paul Sokolovsky, and contributors. Last updated on 12 Aug 2022.
docs.micropython.org
위의 페이지에 더 많은 정보들이 있다.
많이 공부해야 할 것 같다.